Stuffed Raclette-Mushrooms

Ingredient
For 4 persons
8 large mushrooms, approx. 60 g each
Filling:
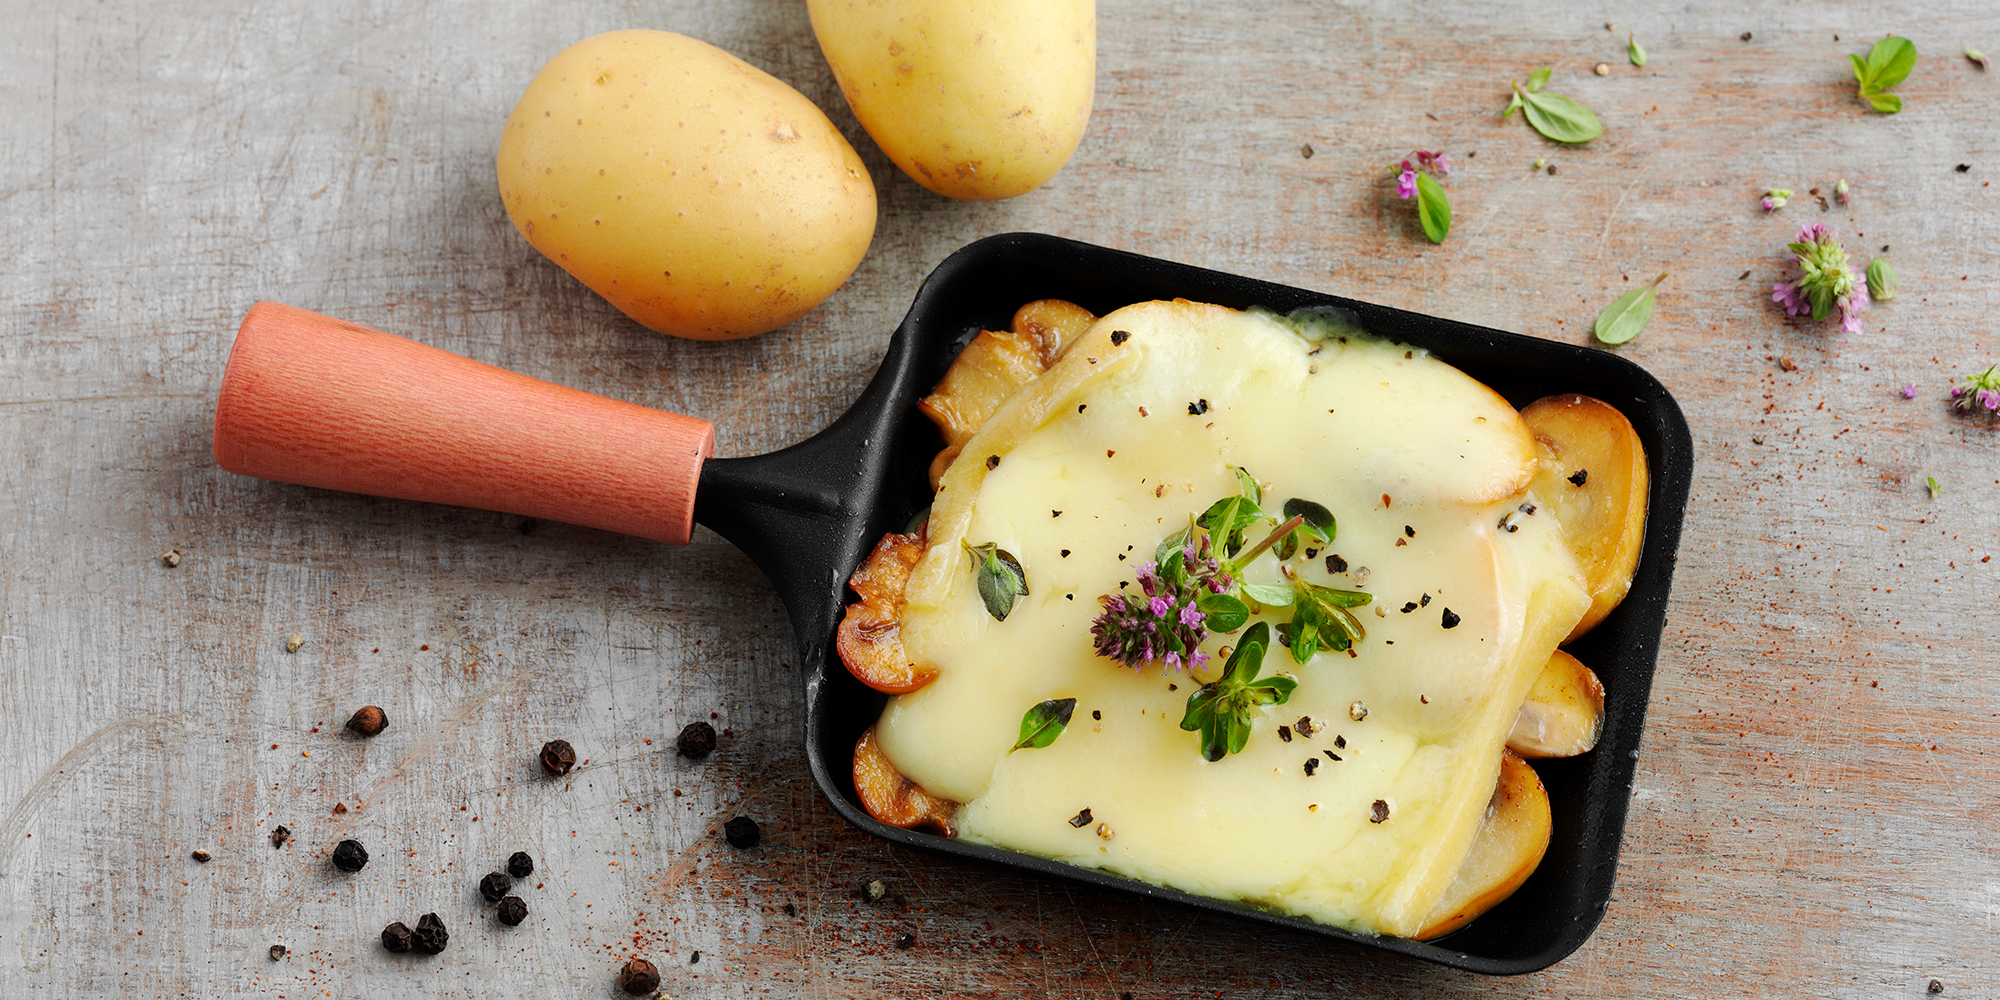
4 slices of raclette cheese
Approx. 8 g fresh sage, chopped
Approx. 8 g fresh basil, chopped
1/4 bunch fresh parsley, chopped
40 g ham slices, cut into small cubes
1 heaped tbsp crème fraiche
1 tbsp breadcrumbs
Salt and pepper to taste
For finishing:
4 large beef tomatoes
A little balsamic cream
4 lettuce leaves
Preparation
Preparation: 30 min
Grilling time: 10 min
1. Clean mushrooms with a brush and carefully remove stems. Put aside until use.
2. Put chopped herbs in a bowl, add crème fraîche and ham.
3. Add diced Raclette cheese, season with salt and freshly ground pepper. Mix together well.
4. Now pour the Raclette filling into the mushrooms.
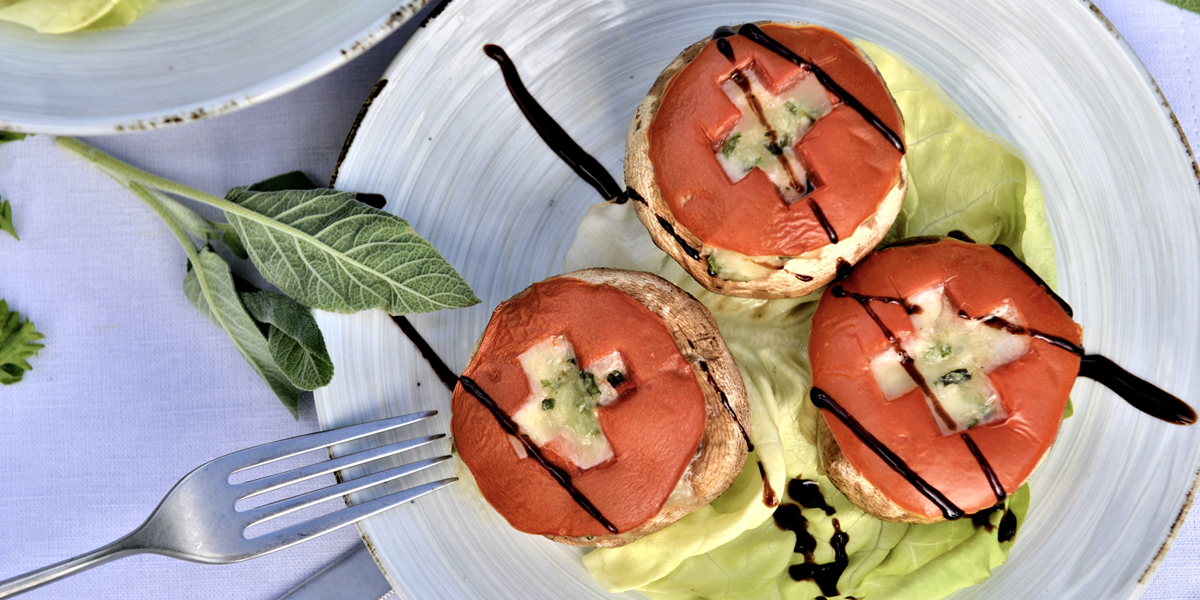
5. Cut a flat top off the bottom and top of each tomato and cut out a Swiss cross with a knife. (Alternatively use a cookie cutter).
6. Put the tomato lids on the mushrooms and place them in an aluminium grill tray. Heat grill.
7. Grilling: 10 min at 240° C, so cheese melts properly.
8. Immediately place on plates with the salad leaves and dress with a little balsamic cream on top.
Tip: The mushrooms can be prepared a few hours in advance (keep in fridge). A large bowl of colourful salad, as well as couscous or potato salad, goes well with them as a veggie variant. Otherwise, all meat options go well with the mushrooms.
The next day, the cut tomatoes can be used to make a spicy salad with onions, bread cubes and any remaining herbs.
Author: A recipe creation by Belinda Kern (Eat, letters & deco)


